Parrot Breeding 2: Your Guide to Choosing, Calibrating, and Equipping a Professional Hatcher Room
For many parrot breeding specialists, artificial incubation is a necessity, whether to increase clutches from indeterminate layers or to eliminate parental disease transmission. This expansive guide details the creation of a sanitary, climate-controlled incubation system, essential for maximizing hatch rates and ensuring chick viability.
Table of Contents
1.0 The Incubator System & Room Setup (Intermediate Focus)
A professional incubation system requires rigorous control over temperature, air quality, and sanitation. The goal is to simulate the natural rhythm of incubation as closely as possible.
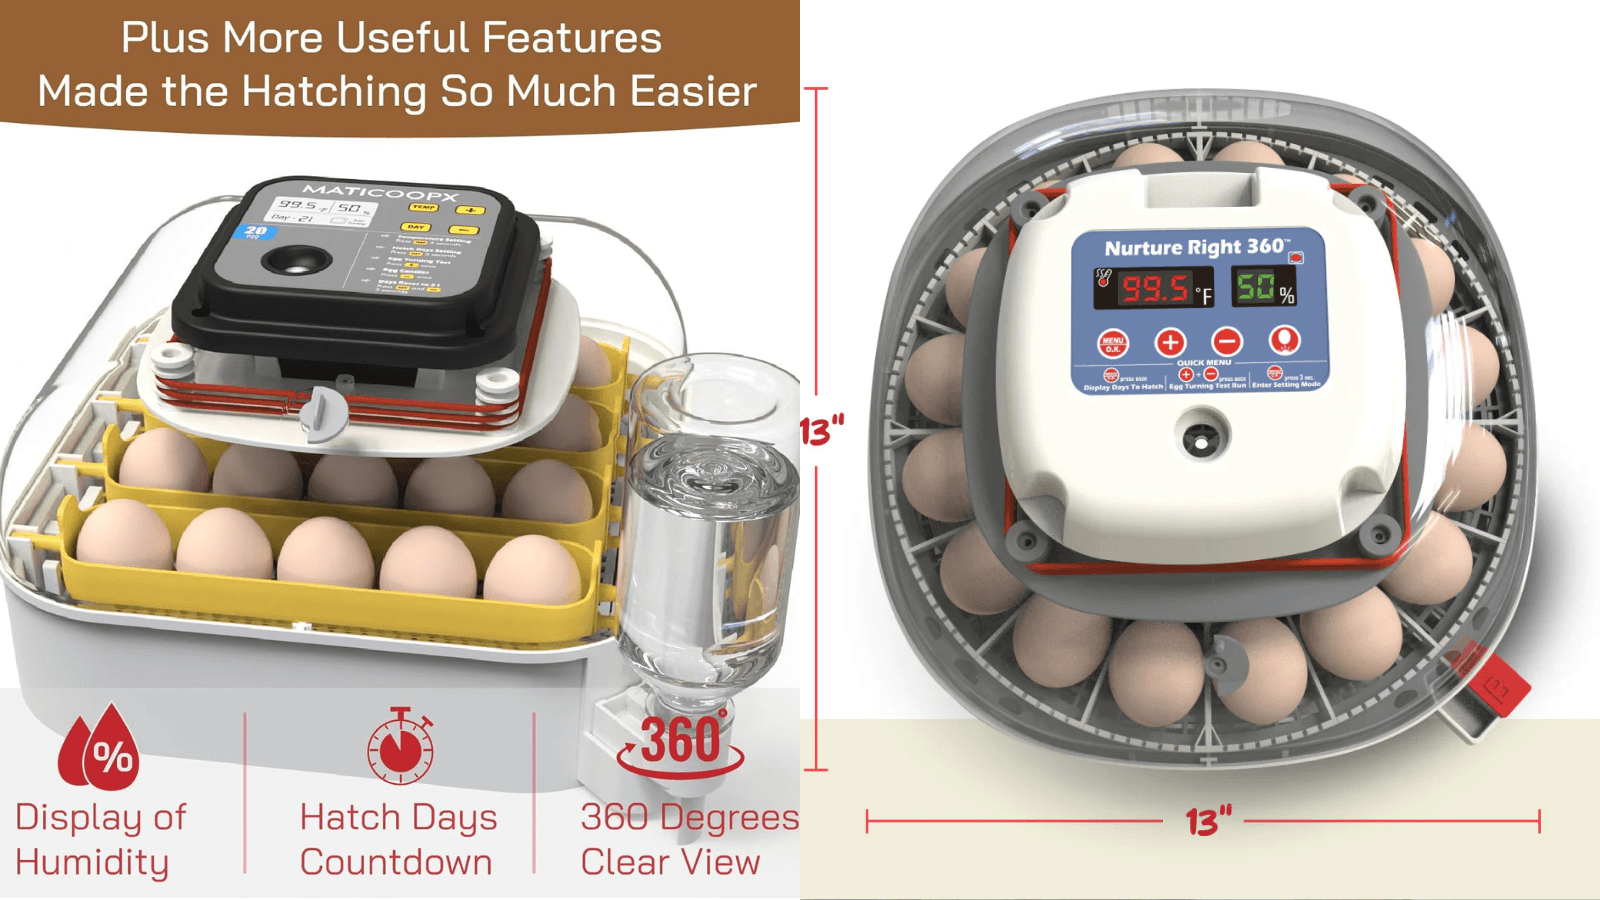
- Incubator Selection: Forced-air models are strongly preferred because they maintain a steadier, more uniform temperature distribution inside the cabinet. While many inexpensive incubators can hatch eggs, choosing a model capable of maintaining a constant temperature without frequent, severe fluctuations is paramount.
- Thermostat Accuracy: Solid-state thermostats are highly accurate and dependable for temperature regulation, making them worth the higher cost. Wafer-type models can be less accurate and should be replaced annually if used, as over-expansion from heating can cause them to lose precision. Put all incubators on a surge-protected, dedicated circuit.
- The Climate-Controlled Room: The incubator room should be air-conditioned to 70°F to 74°F. Running a dehumidifier is also essential to dry the air surrounding the machines, making it easier to add water internally to achieve the desired wet bulb reading for precise humidity control.
2.0 Mastering Environmental Variables and Hygiene (Expert Focus)
Maintaining a disease-free environment is as critical as temperature and humidity control, as bacteria and fungi are common causes of dead-in-shell chicks.
- Sanitation Protocols: Wipe all internal surfaces, including door seals and windows, weekly with a disinfectant solution (e.g., diluted Chlorhexidine diacetate). Use the same solution in the water tanks to curb bacterial growth. Fumigation should be done twice a year during a slow period, ensuring the incubator is thoroughly aired out before introducing eggs.
- New Chick Protocol: When a chick hatches, the navel area is highly vulnerable to bacterial infection. Treat the umbilicus with a 1% Betadine solution immediately after hatching to prevent bacterial entry.
- Vibrations are Deadly: Ensure your incubator is sitting firmly and perfectly level. Even slight rocking can jar eggs in early development and cause death or malpositions. Place matchbooks or cardboard under legs if necessary to eliminate movement.
3.0 Essential Contingency Planning
The parrot breeding season is often during storm season, making power disruption a frequent and dangerous threat. Preparation is non-negotiable.
- The Power Failure Protocol: The most efficient solution is a gas-powered generator, ensuring it produces the correct current rate to protect the solid-state thermostats. Without a generator, turn off the machines, close the vents, and cover the incubators with blankets. If the failure lasts several hours, transfer eggs (especially those under 12 days old) to broody chickens or use towels wrapped around 99°F hot water bottles.
- Essential Equipment List: Keep these sterile items readily available: Tweezers, Hemostats (for clamping a bleeding umbilicus), Silver Nitrate Sticks (for cauterizing), Lactated Ringer’s Solution (for dehydrated chicks), Sterile Water, Gram Scales, and an Egg Candler.